
Roof damage is stressful enough without an unfamiliar insurance process. The best approach is to slow the process down, document what you can, understand who is responsible for each decision, and keep the paperwork organized.
Your insurance carrier determines coverage under your policy. A contractor can inspect visible property conditions, prepare a repair scope or estimate, provide photos, and answer construction questions. A contractor should not promise claim approval or interpret coverage on the insurer’s behalf.
Step 1: Protect people and prevent additional damage
Safety comes first. Stay away from downed utilities, unstable trees, damaged ceilings, standing water near electrical systems, and roof areas that may be unsafe. When temporary protection is needed, document the condition before work begins when possible and save every receipt.
Step 2: Document the property
Record the date and approximate time of the storm or loss.
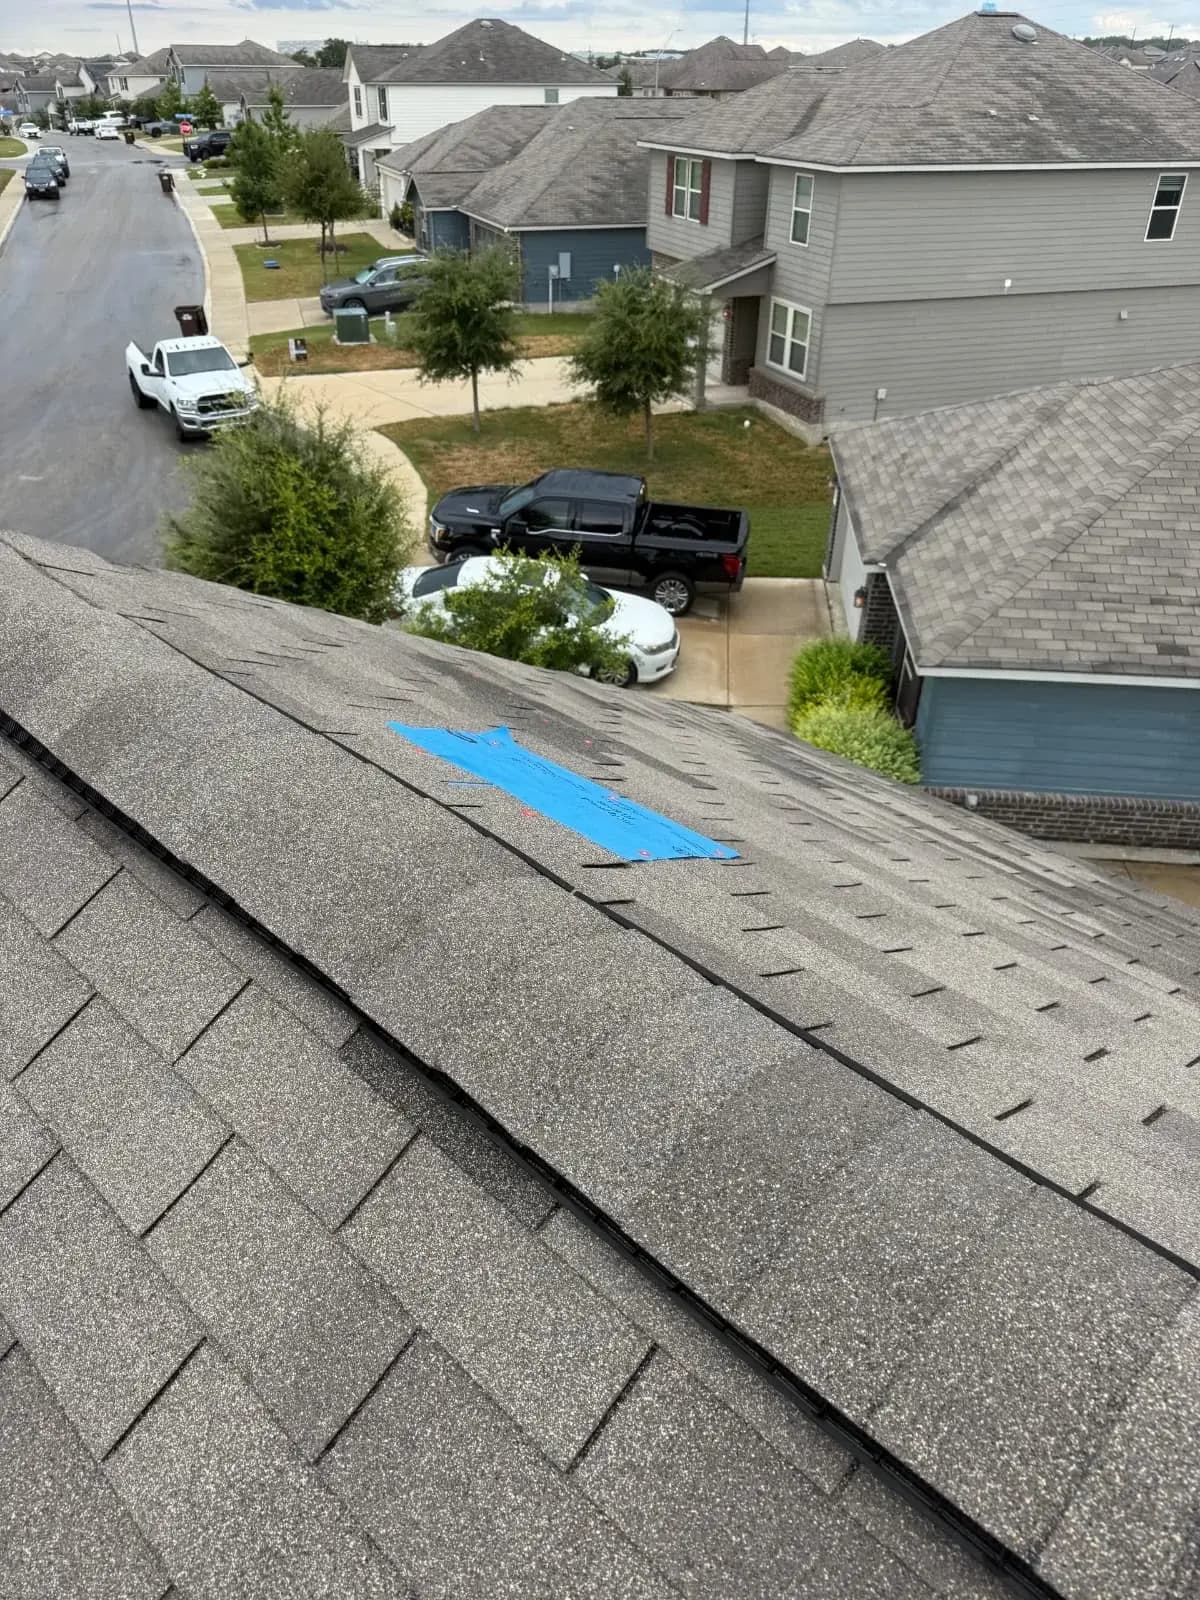
Photograph visible roof, gutter, siding, fence, window, and interior damage.
Keep damaged materials when practical and safe until your insurer provides direction.
Write down when you first noticed leaks, stains, or other symptoms.
Create one folder for photos, policy documents, estimates, receipts, and messages.
Step 3: Request a professional inspection
A contractor’s inspection can help identify visible conditions and develop an appropriate construction scope. The inspection should cover the relevant roofing and exterior components, not simply produce a replacement recommendation. Ask for clear explanations and supporting photos.
Step 4: Contact your insurance carrier
Review your policy, deductible, reporting requirements, and carrier contact information. When you report the loss, provide accurate facts and avoid guessing about damage you have not confirmed. Your carrier may assign a claim number and schedule an adjuster inspection.
Step 5: Prepare for the adjuster visit
Have your photos, notes, and contractor inspection information available. When scheduling allows, your contractor may be able to meet the adjuster to identify observed damage and answer construction questions. The adjuster and carrier still make the coverage decision.
Step 6: Review the scope carefully
Compare the insurer’s scope with the contractor’s estimate. Look beyond the total price and review materials, quantities, accessories, code-related items, ventilation, flashing, gutters, interior work, and other affected components. Differences should be documented and discussed through the carrier’s established process.
Step 7: Understand the payment structure
Insurance documents may include terms such as actual cash value, replacement cost value, depreciation, deductible, and recoverable depreciation. Ask your insurer to explain how these terms apply to your policy and when payments may be issued. Confirm the construction payment schedule in writing with your contractor.
Step 8: Complete the work and retain records
After the scope is agreed upon and the contractor is selected, confirm materials, warranty terms, schedule, payment expectations, and change-order procedures. Keep the final contract, invoices, completion photos, warranty documents, and claim correspondence after the project is finished.
How Sanders & Co supports the process
Sanders & Co provides property inspections, photo documentation, construction estimates, scope clarification, and professional repair or replacement services. We help homeowners stay organized and understand the work their property needs while respecting that coverage decisions belong to the insurance carrier.
This article provides general educational information and is not legal, insurance, or coverage advice. Policy terms and claim circumstances vary.